The biggest reason I ditched my SimpliSafe subscription was the monthly bill. $30 a month ($360 a year) to have someone else control my security cameras and alarm? That's absurd when I can build the same thing myself for under $500 and own it outright.
I'm going to walk you through building a complete home security system using Home Assistant. No cloud company sitting between you and your alerts. No monthly monitoring fees. Total control.
What You'll Need
Let's start with the core components. Your total out-of-pocket should land between $300 and $500.
The Brain: Home Assistant Green (~$100) or a Raspberry Pi 4 ($55). I'm using HA Green because it's purpose-built and doesn't require fiddling. If you've got an old Pi collecting dust, use that instead.
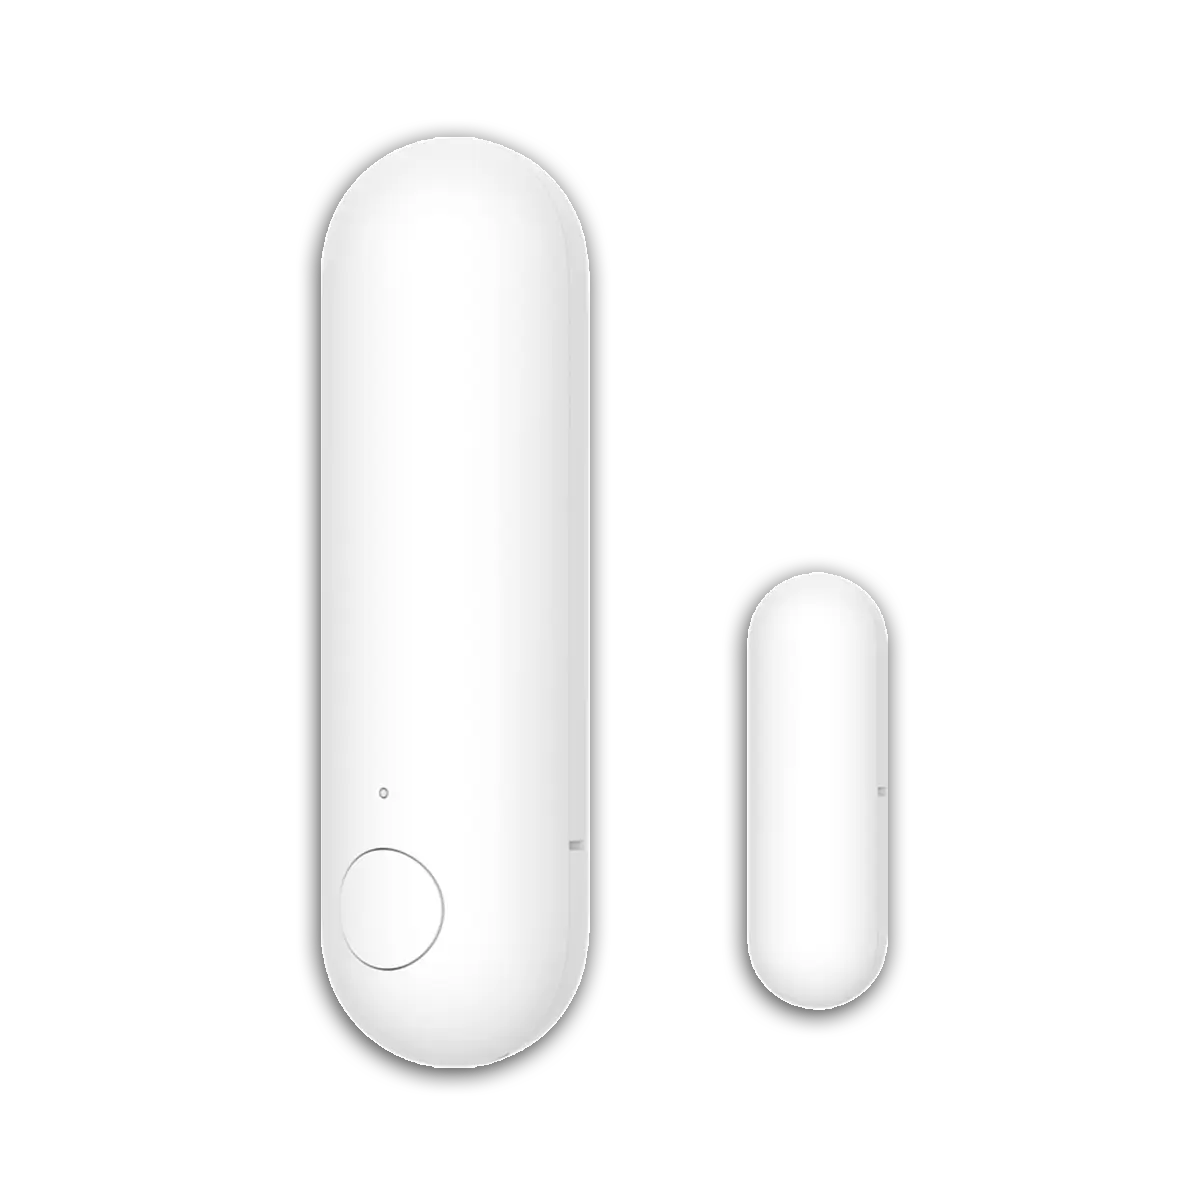
Door and Window Sensors: Aqara door/window sensors or Sonoff SNZB-04 (~$8–12 each). Buy one for every exterior door and accessible window. I've got 10 in my house, so budget $100 for those.
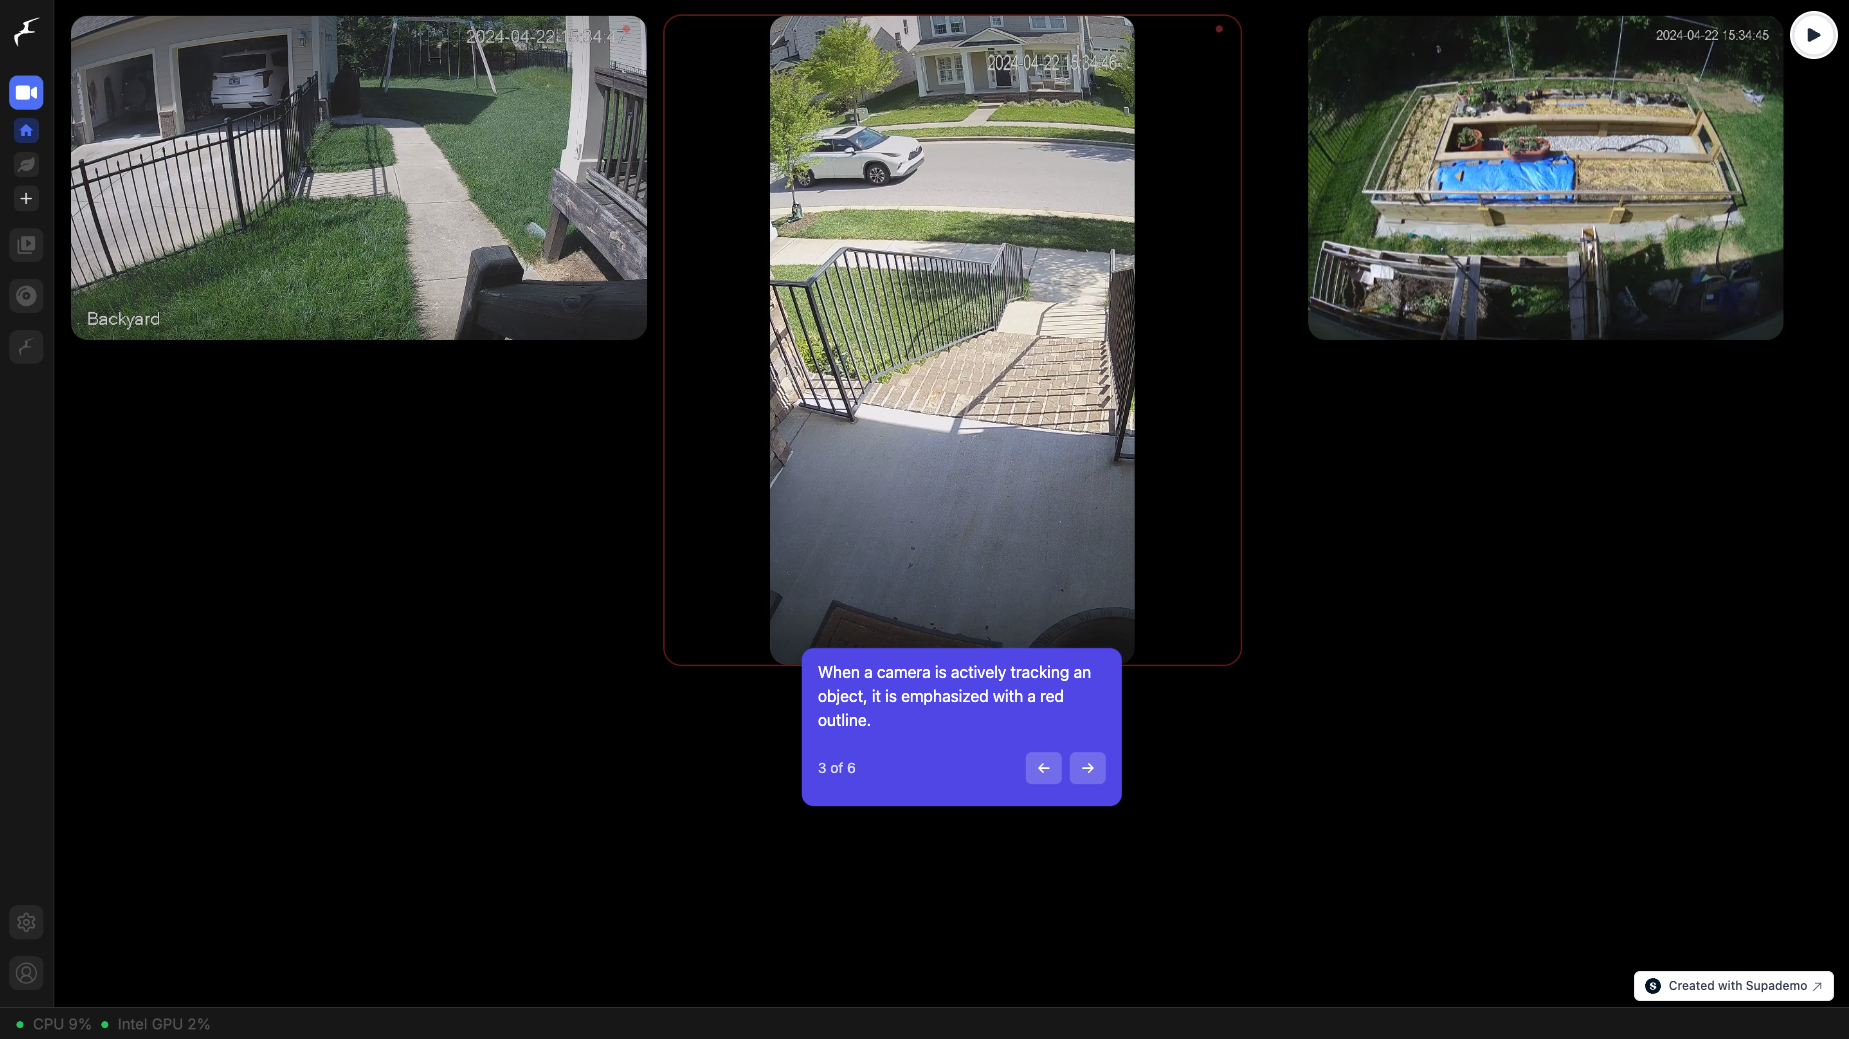
Outdoor Cameras: Reolink PoE cameras (~$50–80 each) are my standard recommendation. No subscription, they record locally, and they're rock-solid. Pair them with Frigate, which runs on your Home Assistant box and handles AI detection—no cloud analysis required. Start with two cameras (front and back).
Indoor Siren: You need something loud to deter intruders. A Zigbee siren like the Heiman HS2WD-E (~$25) works great. Or skip it and use a smart plug powering a standalone siren (~$30 for the plug, $15 for the siren).
Motion Sensors: Aqara P2 motion sensors (~$18 each) for living room, bedrooms, and hallways. Get three or four.
Keypad for Arming: A Zigbee keypad like Linkind (~$30) mounted by your front door. Lets you arm/disarm without pulling out your phone.
Notifications: The Home Assistant Companion app (free) sends critical alerts to your phone. Text messages or push notifications—your choice.
Check Reolink PoE cameras on Amazon
Setting It All Up
This part's easier than it sounds, assuming you're comfortable with basic network setup.
Step 1: Install All Sensors and Cameras
Mount your cameras (I use gutter mounts—no drilling). Pair your Zigbee sensors to the Home Assistant Zigbee dongle. The HA UI walks you through it. Each sensor takes 30 seconds to pair.
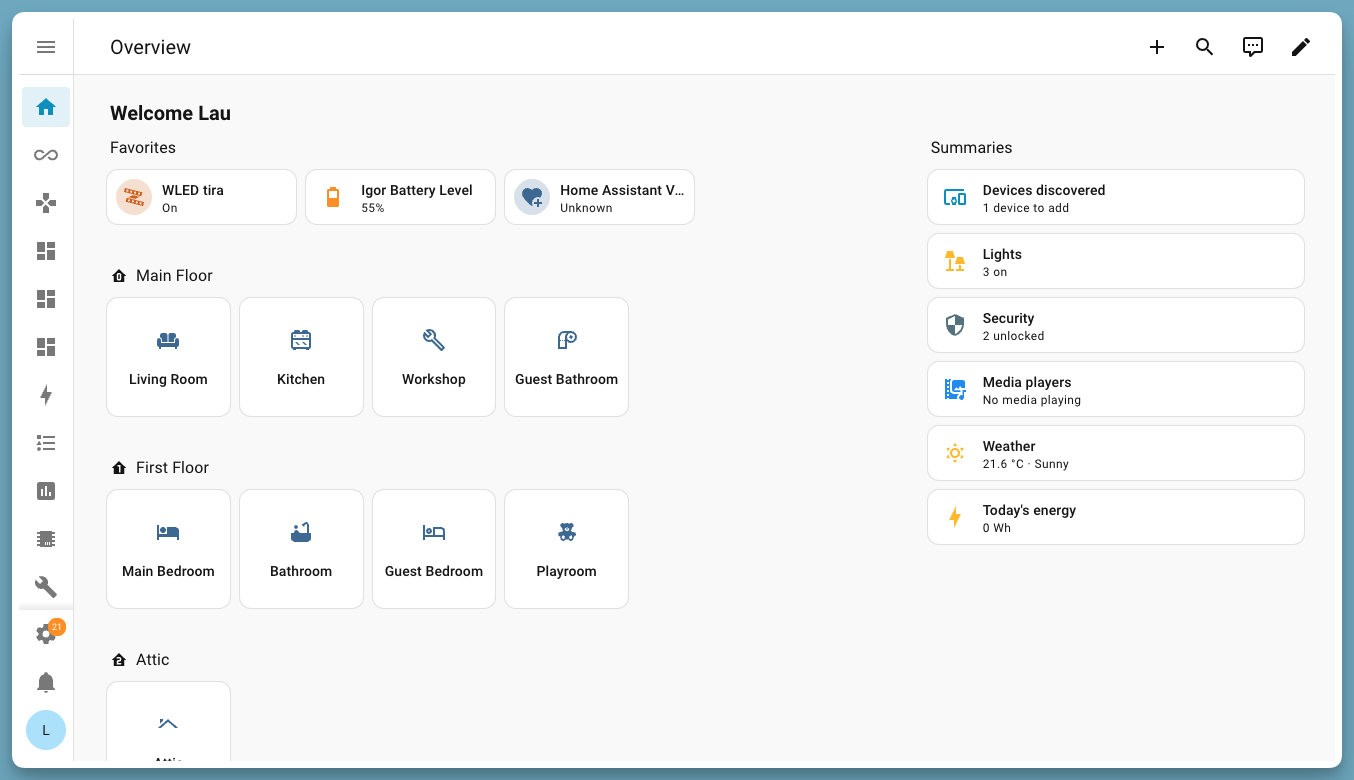
Step 2: Create an Alarm in Home Assistant
Open Home Assistant and go to Settings > Devices & Services > Helpers. Create a new helper called "alarm_armed" with three options: Away, Home, Night.
Better yet, install the Alarmo custom integration from HACS (Home Assistant Community Store). Alarmo is built for exactly this and has a much cleaner UI than building it manually. It's free and takes five minutes to install.
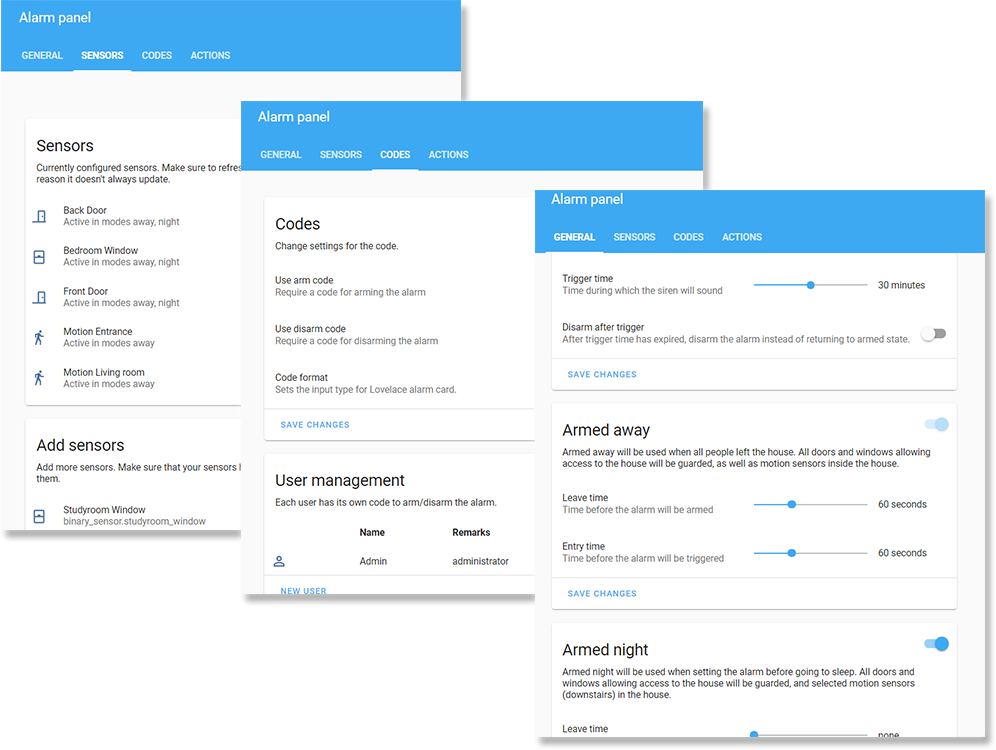
Step 3: Define Your Arm Modes
- Away: All door and window sensors trigger the alarm. Siren blares. Cameras record. Alert sent to your phone with a snapshot.
- Home: Only perimeter doors matter. Windows ignored (you might open a window while home). Motion sensors ignored.
- Night: Perimeter doors + motion in common areas. Bedroom motion sensors ignored.
Step 4: Build the Automations
In Home Assistant, create automations that trigger when sensors detect activity:
- "If any perimeter door opens while armed Away, trigger siren, send alert, and record video."
- "If motion is detected in living room while Home, just log it (don't alert)."
- "If back door opens twice in 10 minutes, send emergency alert."
You can write these in the visual editor or YAML. The visual editor is getting really good—you don't need to code.
Step 5: Add Phone Notifications
The HA Companion app sends notifications for critical events. Install it on your phone. When the alarm trips, you get an instant push notification plus a snapshot of what triggered it.
Step 6: Optional—Add Professional Monitoring
Want actual police dispatch if you can't reach your phone? Noonlight integrates with Home Assistant for $10/month. When your alarm triggers, you get a call. If you don't answer or give the safe word, they call police. It's insurance, not a replacement for the DIY system.
The Math
Let's talk cost:
- DIY system (one-time): ~$400–500
- SimpliSafe (subscription): $30/month = $360/year
- ADT (subscription): $45/month = $540/year
Your DIY setup pays for itself in 13 months versus SimpliSafe. And after that, it's free forever. No cloud company raising prices. No firmware pushing unwanted features.
You own it. Your data stays on your network.
Real Talk on Reliability
Home Assistant is rock-solid these days. I've had my system running for two years without an outage. The Zigbee mesh is fast—door open to notification in under two seconds. Cameras stream flawlessly.
The only hiccup I've hit is a Zigbee sensor losing connection after a power outage. Adding a second Zigbee repeater fixed it. For a security system, I'd recommend picking up an extra Zigbee plug to act as a repeater just to be safe (~$20).
Why Not Just Buy SimpliSafe?
SimpliSafe is fine if you want zero setup and don't care about owning your data. But you're paying for convenience. With the DIY approach, you get:
- Full control over what gets recorded
- Video storage on your own NAS (or local SSD)
- Automations that can integrate with other systems (lock the doors if alarm triggers, turn on outdoor lights, etc.)
- No surprise price increases
- Alerts that actually reach you fast
This is especially valuable if you've got a larger home where professional monitoring ($30/month) costs more than your DIY system over a few years.
Check Aqara door/window sensors on Amazon
The Bottom Line
Building your own security system takes a weekend, not a week. You'll have a system that's more flexible and ultimately cheaper than anything subscription-based. Home Assistant handles the heavy lifting. Your Zigbee mesh keeps everything responsive. And you sleep better knowing you're not relying on some company's cloud servers.
Start with the core: Home Assistant, door sensors, and one camera. Add cameras and motion sensors as your budget allows. The beauty of DIY is you can expand without vendor lock-in.