I've been building smart home projects for years, and WLED is genuinely one of my favorite discoveries. For less than thirty bucks and two hours of your time, you can build a controller for addressable LED strips that rivals products costing $200+.
Here's why I'm obsessed: WLED is free, open-source firmware that turns a five-dollar ESP32 microcontroller into a fully featured addressable LED controller. You get over 200 built-in effects, music reactive mode, preset saving, integration with Home Assistant, and control from your phone. All of it locally—no cloud dependency, no subscription, no closed ecosystem.
If you've ever wanted smart LED strips but balked at the Nanoleaf or LIFX price tags, WLED is the answer.
What You Actually Need
This is not a complicated project. You need:
- ESP32 microcontroller: $5. Grab a generic board—doesn't matter which one as long as it has GPIO pins. I use the DOIT DevKit v1.
- WS2812B addressable LED strip: $10–15 for five meters of 60 LEDs per meter. Search "WS2812B 60/m" on Amazon or AliExpress. SK6812 is also supported. Individual addressable RGB LEDs.
- 5V power supply: $8–12, depending on strip length. A five-meter, 60 LEDs/m strip pulls about 18 watts at full white brightness. Don't cheap out on power—undersized supplies cause flickering and unpredictable behavior. I use a mean-well industrial supply because I'm paranoid, but any reputable 5V supply rated for your strip's wattage works.
- Wires: Three wires—data, power, ground. USB-A to micro-USB cable if your ESP32 doesn't come with one.
- Resistor: A 330–470Ω resistor for the data line (optional but recommended to prevent signal issues).
That's literally it. Total cost: under thirty bucks.
Installation: The Easy Part
Go to install.wled.me. That's a web-based ESP32 flasher. Plug your ESP32 into your computer, click "Connect," select your device from the dropdown, and hit "Install." The web flasher handles the entire firmware installation automatically. No Arduino IDE, no command line, no mystery. Two minutes and you're done.

Wiring: The Physical Part
This is where you actually touch things. Here's the schematic:
- Data pin: ESP32 GPIO 16 → 330Ω resistor → WS2812B data in (usually the green or yellow wire)
- Power: 5V PSU positive → WS2812B power (red wire). Also wire 5V PSU positive to ESP32 VIN (the voltage input pin).
- Ground: 5V PSU negative → WS2812B ground (black or white wire). Also wire 5V PSU negative to ESP32 GND.
Use a breadboard or just solder directly if you're comfortable. I soldered everything because I wanted a clean result, but breadboarding works fine for testing.
One critical detail: run the power supply ground and the ESP32 ground to the same point. This is called a "common ground" and it's essential for reliable data transmission. Without it, the signal floats and you'll get mysterious flickering.
The resistor on the data line protects the first LED's data input pin from voltage spikes. It's technically optional, but I include it every time. Think of it as cheap insurance against a fried LED.

Power up the ESP32. If you wired everything correctly, the first LED should light up automatically (WLED defaults to a red color).
Configuration: Making It Respond to Your Network
Open a browser and navigate to http://WLED-IP:80 (your ESP32 will broadcast an IP once it boots). You'll see the WLED web interface. Go to Settings (gear icon) > WiFi > enter your Wi-Fi credentials > save.
Back on the main page, set the LED count and LED type. Count the LEDs on your strip and enter that number. For type, select WS2812B (or SK6812 if that's what you bought). Hit "Save."
That's your basic config. Now the fun part starts.
Exploring Effects: There Are 200+ of Them
The effects library is WLED's party trick. The main page has a dropdown labeled "Effect"—click it and scroll through. You've got everything: solid colors, rainbow gradients, animated palettes, chasing patterns, police sirens, fire simulations, matrix rain, sparkles, plasma effects, and dozens more.
Each effect has tweakable parameters. Select an effect, and you'll see sliders for speed, intensity, and palette. The changes apply in real time. Tweak the parameters and watch your strip respond instantly.
My favorites: "Rainbow Cycle" for a constantly shifting rainbow, "Fire Flicker" for (unsurprisingly) a fire effect, "Music Reactive" if you have a microphone connected to the ESP32, and "Theater Chase" for a chasing animation.
Music Reactive Mode: Why This Matters
If you wire an analog microphone to the ESP32's ADC input (another GPIO pin), WLED can respond to sound. Music reactive effects pulse and flash to your music or ambient noise. It sounds gimmicky until you actually see it—then it becomes the coolest thing your friend group has seen in your house.
Setup: wire a simple analog microphone to GPIO 35 (the ADC input on most ESP32s). Enable music reactive mode in Settings > Audio > Mic Source. Select any music reactive effect and your strip responds to sound.
Saving Presets: Build Your Library
Once you've tweaked an effect exactly how you want it (speed, palette, intensity), save it as a preset. Click the bookmark icon next to the effect name, give it a name ("Movie Night" or "Party Mode" or whatever), and save. Now you've got that exact configuration saved forever. Cycle through your presets with the arrow buttons.
I have about 15 presets: some for ambiance (soft warm colors with slow movement), some for parties (fast rainbow cycles), some for work (solid blue, no animation). One click and I'm switching between completely different moods.
Home Assistant Integration: The Automation Win
WLED broadcasts via mDNS, so Home Assistant auto-discovers it. Once discovered, you can control it via the WLED integration—turn it on/off, change effects, adjust brightness, change colors, all from Home Assistant automations or your phone.
This is where it gets powerful. Set up an automation: "When the sun sets, turn on WLED and set it to the 'Evening Ambiance' preset." Or "When movie mode activates, dim the LEDs to 20% brightness and set a dark gradient." Or "When someone arrives home, flash the LEDs to get their attention."
The possibilities are endless because you're controlling a fully programmable light source, not just a dumb RGB strip.
Important Power Supply Reality
This is the critical thing people get wrong: undersizing your power supply. A five-meter strip of 60 LEDs/m, all white at full brightness, draws about 18 watts. Your PSU needs to be rated for that. If you size it too small, the voltage sags under load, your ESP32 resets unexpectedly, your first LEDs flicker, and you spend three hours debugging what's actually a power problem.
For a five-meter strip, use a 5V 4A supply (minimum). For ten meters, 8A. For longer runs, you need more headroom. This is the one place you genuinely shouldn't cut costs.
Long LED Runs: The 150 LED Limit Per Data Line
If you're chaining multiple strips together, keep in mind that data signal degrades over long distances. A single data line can handle about 150 LEDs before the last LEDs start acting weird (colors shifting, unexpected flickering). If you've got more than 150 LEDs, run a separate data line from the ESP32 to the second strip's data input.
For power, you absolutely want to solder power and ground connections at multiple points along a long strip rather than relying on the strip's internal power traces. Long strips have significant resistance, and voltage sags toward the end of the strip.
Debugging Flickering and Color Shifts
Flickering usually means one of three things: undersized power supply, data signal issue, or no common ground between ESP32 and LEDs.
Color shifts (reds becoming greens, off-color whites) usually mean data line too long, resistor missing or too high value, or the data line running near high-voltage wiring (EMI interference).
The quick fixes: check your power supply is rated for your strip, verify common ground, add a resistor on the data line, keep the data line short and away from AC power wiring, and make sure you're not exceeding 150 LEDs per data line.
Beyond the Basics: Level Shifters
If you're running a longer data line (more than a meter or two), a 3.3V-to-5V logic level shifter on the data line helps maintain signal integrity. The ESP32 outputs 3.3V logic; your LEDs want 5V. A level shifter ensures clean 5V signal even over longer distances.
For a short setup under a meter of wire, the resistor alone is fine. For longer distances, add a level shifter.
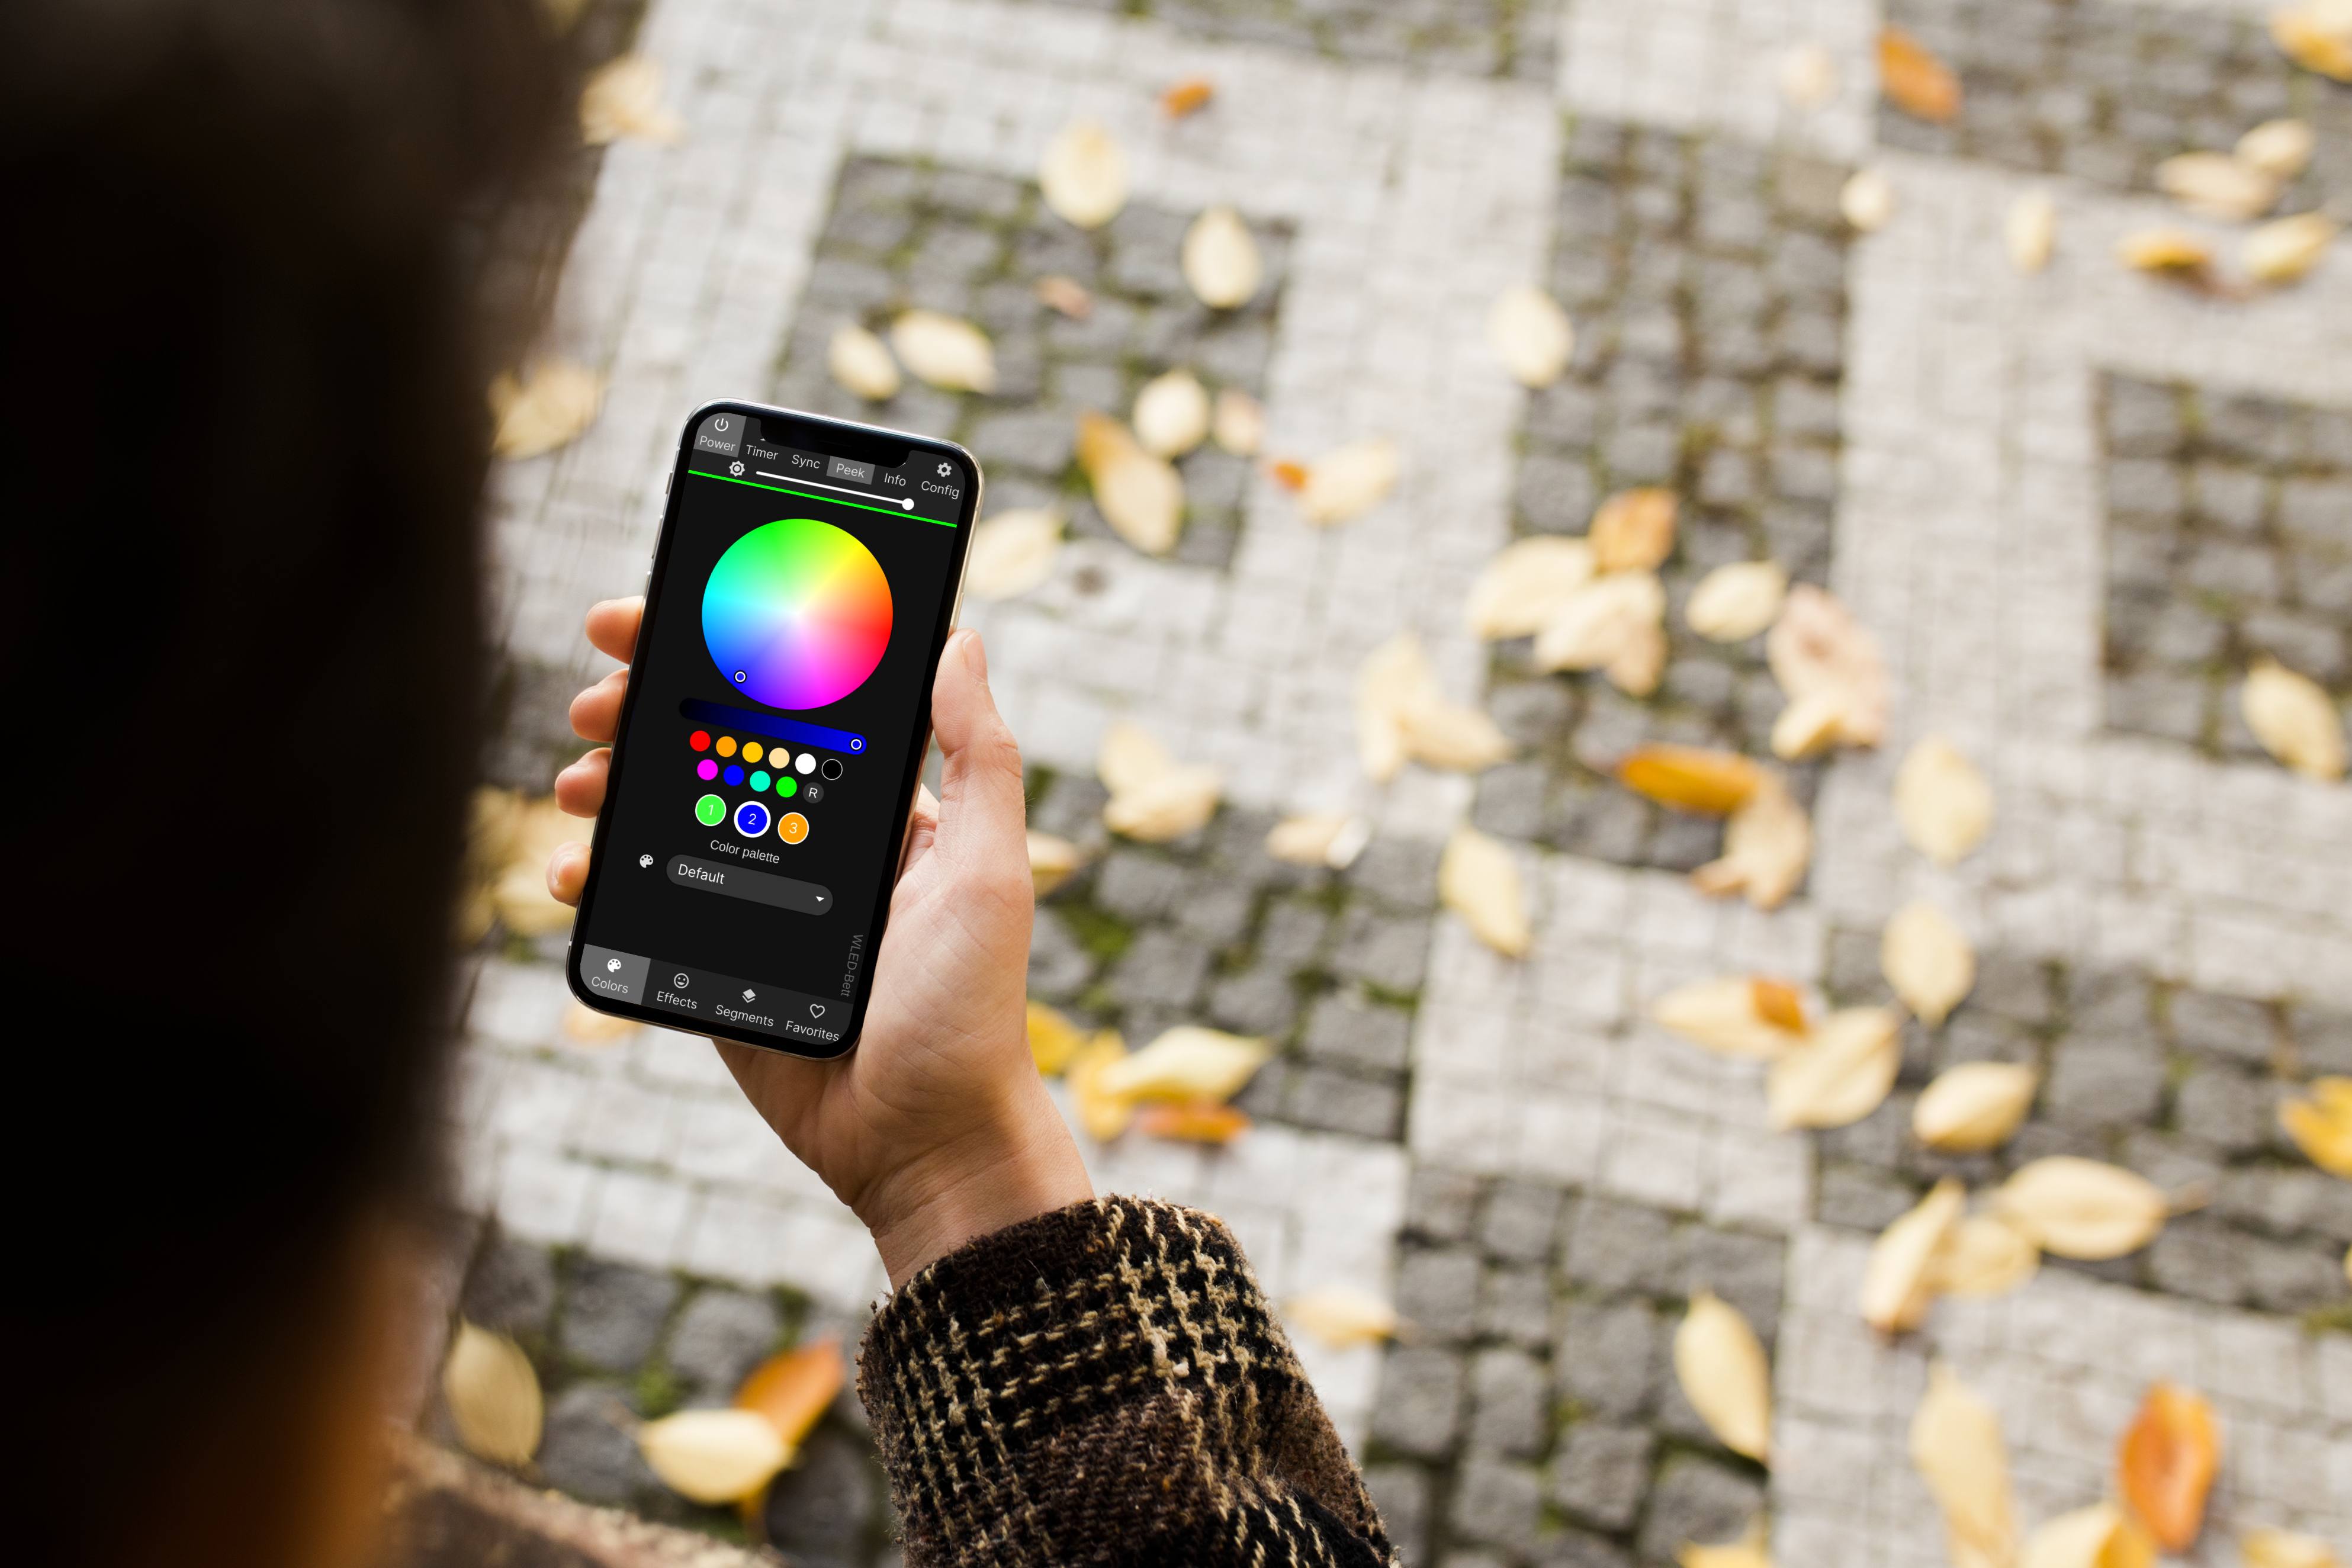
Controlling It All: The WLED Mobile App
Download the WLED app (iOS or Android) and you can control your strip from anywhere on your home network. Change effects, adjust brightness, tweak colors, cycle presets—all without opening a web browser.
The app is remarkably polished for open-source software. It's my go-to for controlling my LEDs.
Real-World Setup: Behind My Monitor
I've got a five-meter strip behind my desk monitor. WS2812B 60/m, powered by a 5V 4A supply, controlled by an ESP32, running a slow rainbow effect during the day and a solid dark blue at night (via Home Assistant automation). The whole project cost me twenty-three dollars and took about an hour to set up.
It looks professional. Nobody would guess it's a DIY build instead of a $300 commercial product.
Check WLED and ESP32 supplies on Amazon
WLED is one of those projects that delivers way more value than you'd expect from the price and complexity. You get professional-grade lighting control, Home Assistant integration, a library of 200+ effects, and complete local control—no cloud, no subscriptions, no limitations. If you've got two hours and thirty bucks, your home's going to look noticeably cooler.