Home Assistant Green sits in this perfect middle ground: it's literally plug-and-play, but it doesn't feel like a toy. For $99, you get an officially-supported Home Assistant box that doesn't require you to tinker with Raspberry Pis or deal with Linux headaches. If you've been curious about local home automation but intimidated by the setup process, this is your entry point.
I'm going to walk you through unboxing, connecting it, creating your first automations, and explaining why this approach matters. If you can plug in a router and click a few buttons, you can do this.
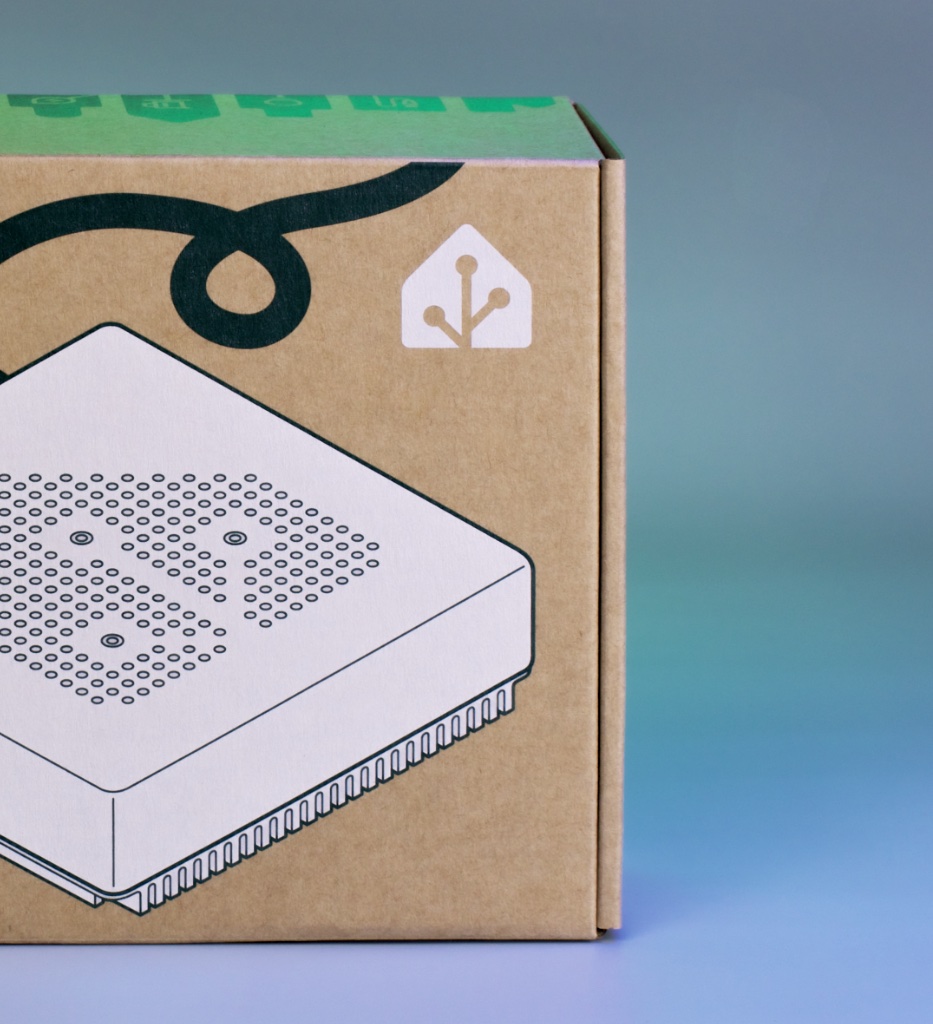
What You're Actually Getting
Home Assistant Green is a sleek little black box with a quad-core processor, 4GB RAM, and 32GB storage. Everything you need. The official Home Assistant team designed it specifically for home automation, so it runs the entire stack natively without emulation or weird workarounds. It connects via Ethernet (hardwired recommended) or Wi-Fi.
Why does it matter that it's "official"? Because Home Assistant is open-source, and the maintainers actually designed a device specifically around their software instead of trying to cram HA onto hardware that wasn't meant for it. Support is built in. Updates are stable. When something breaks, there's a company behind it.
The Unboxing and Initial Setup
Here's what you'll do:
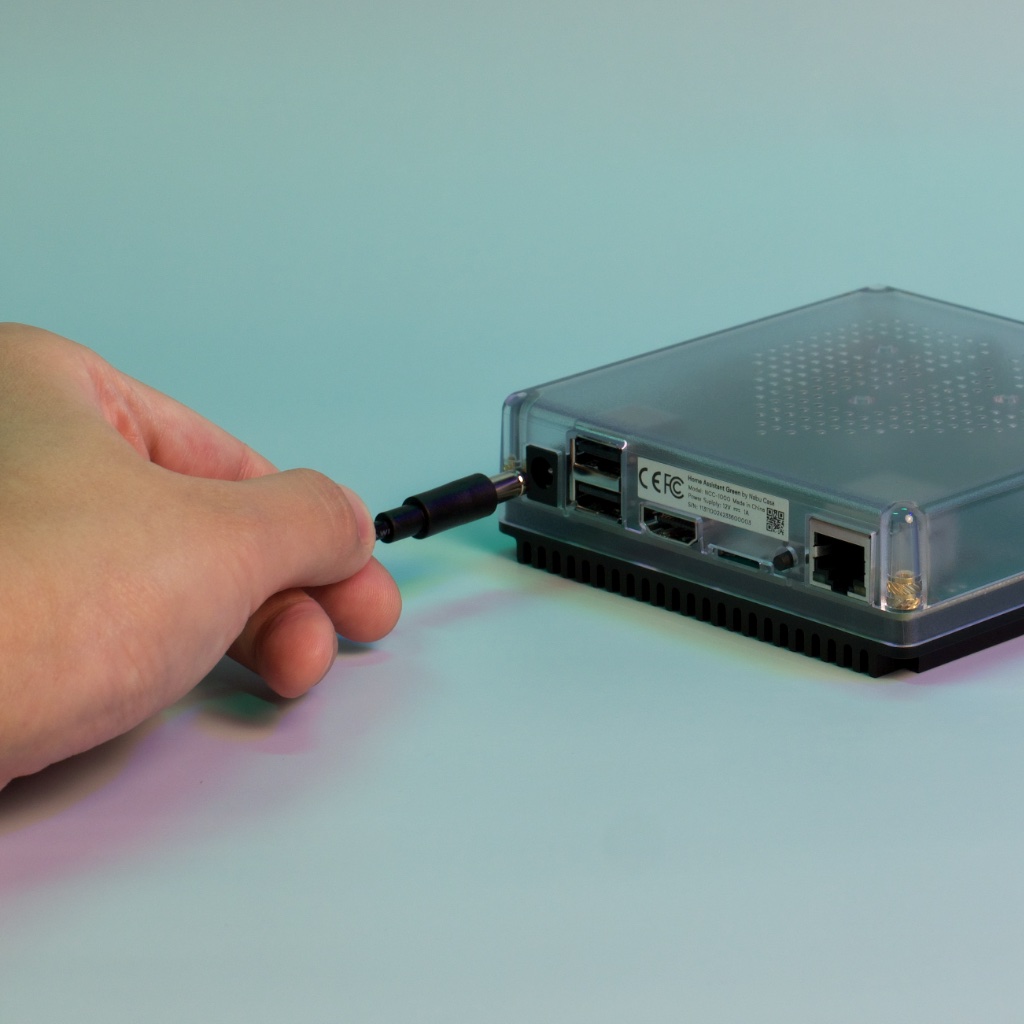
- Unbox it. It's small. Seriously, it's like a hockey puck with some height to it.
- Plug in the power cable and Ethernet. That's it.
- Grab a device on your network (phone, laptop, doesn't matter), and go to
http://homeassistant.local:8123in your browser.
You'll see the Home Assistant setup wizard. Create an account with a username and password. Set your location and time zone. The system will walk you through it.
First boot takes a few minutes. Be patient. It's doing a lot—setting up the database, installing necessary packages, all that stuff.
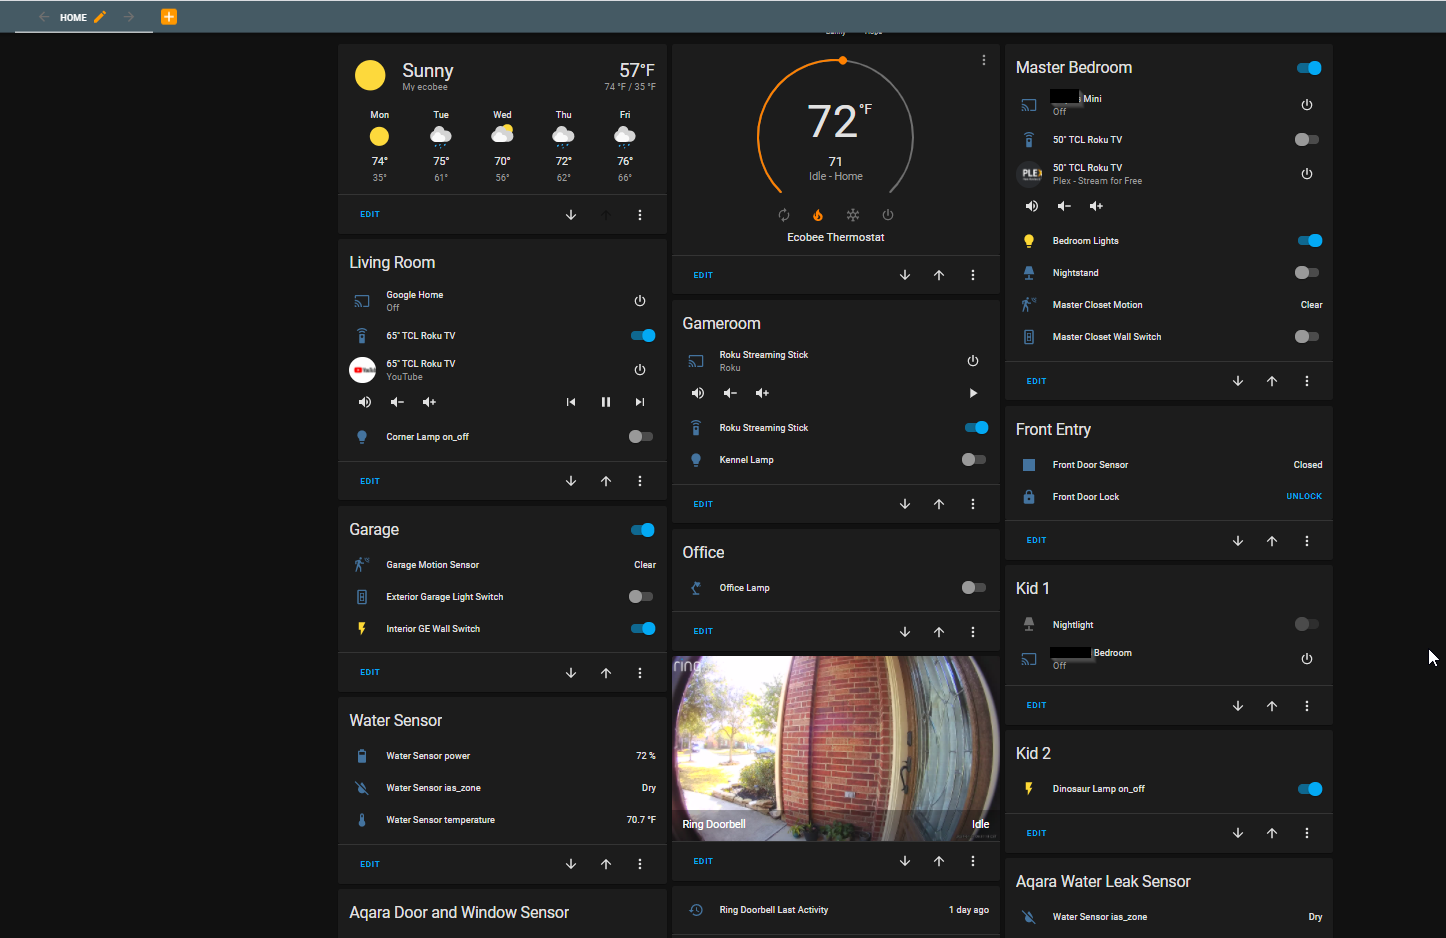
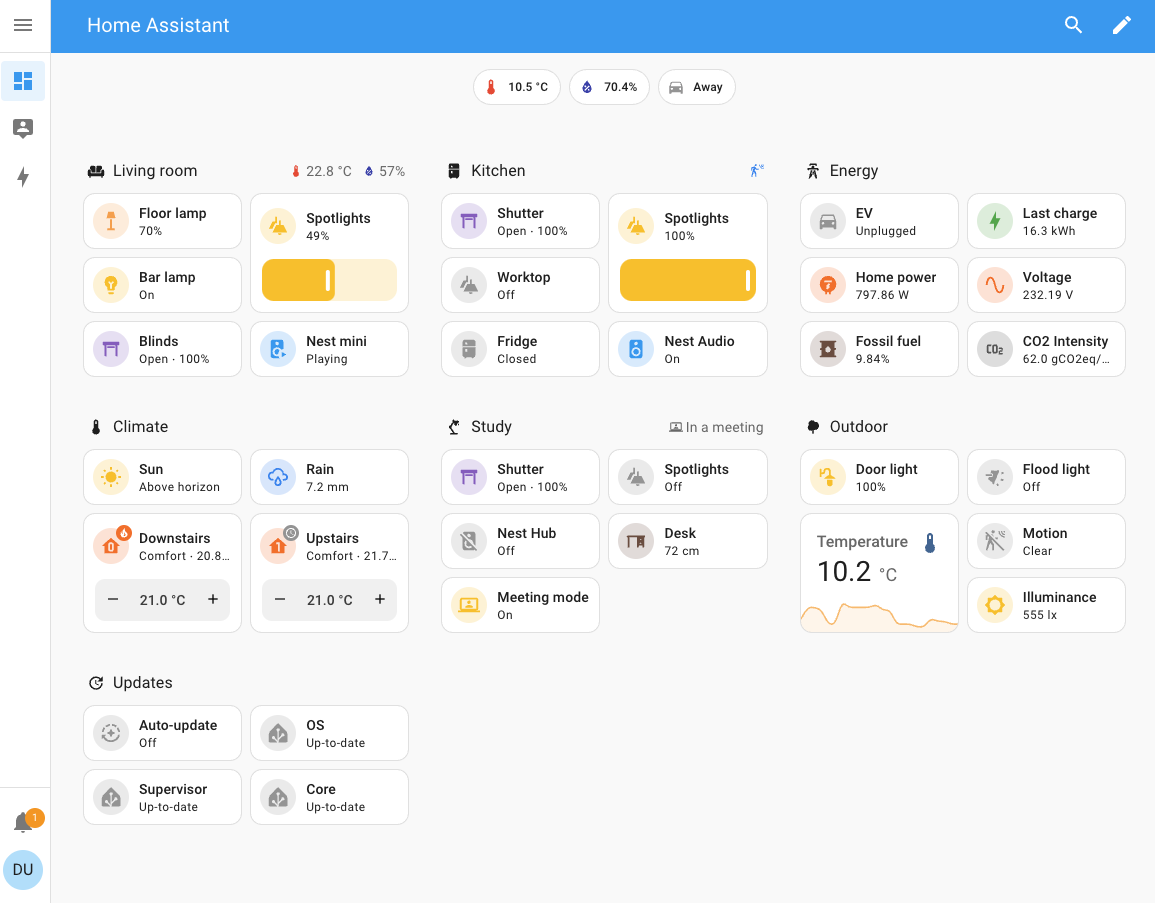
Once you're in, you'll see the default dashboard. It's barebones. That's intentional. You'll build it out as you add devices.
Actually Adding Devices (It's Easier Than You Think)
Home Assistant has this thing called "discovery." If you've got any smart home devices already—smart bulbs, plugs, speakers—there's a decent chance HA will find them automatically.
Go to Settings > Devices & Services and look at the "Discovered" section. You'll see a list of devices HA found on your network. Click one, and it'll either connect automatically or ask you for authentication (usually app passwords or API keys, depending on the device).
Try starting with something simple like Philips Hue bulbs or a TP-Link Kasa plug. The integration process is like:
- Go to Devices & Services
- Click "Create Integration"
- Search for "Hue" or "Kasa" or whatever
- Click it
- Follow the prompts (might ask you to press a button on your physical hub)
- Done
Within five minutes, your lights appear in HA and you can control them from the dashboard.
Installing Your First Integration: A Practical Example
Let's say you've got Philips Hue bulbs and you want to add them. Here's the actual walkthrough:
- Open Home Assistant Green
- Go to Settings (gear icon, bottom left)
- Click Devices & Services
- Click the Create Integration button (blue button, top right)
- Search for "Hue"
- Click on "Philips Hue"
- It'll ask you to select a Hue Bridge. (If you don't see your bridge, make sure it's connected to your network and on the same Wi-Fi as HA Green, or hardwired to your network)
- Go press the big button on your Hue Bridge (the physical device, not in the app)
- Within 30 seconds, click "Link" in the HA dialog
- Select which rooms and lights you want to include
- Boom. All your lights are now in HA
You'll see them appear under Lights in your dashboard. Click any light to control it. Brightness, color, all of it.
Creating Your First Automation (It's Actually Simple)
Here's where HA stops being just a dashboard and becomes actually useful. Automations are "if this happens, then do that."
Example: "If motion is detected, turn on the kitchen lights."
Go to Settings > Automations and Scenes and click Create Automation. You'll see:
- Trigger: What starts this (motion detected, door opened, time-based, etc.)
- Condition (optional): Only run if something else is true (it's dark outside, nobody's home, etc.)
- Action: What happens (turn on lights, send notification, etc.)
Let's build one:
- Trigger: Choose "Motion" and select your motion sensor
- Condition: Click "Sun" and set it to trigger only when sun is below horizon (dark outside)
- Action: Choose "Light" and select your kitchen lights, then set brightness to 100%
Save it. Now whenever motion is detected after sunset, your kitchen lights turn on.
This is the actual power of Home Assistant—not that you can control lights from your phone (that's boring), but that devices can talk to each other and create automations without leaving your network, without a subscription, without Alexa or Google listening in.
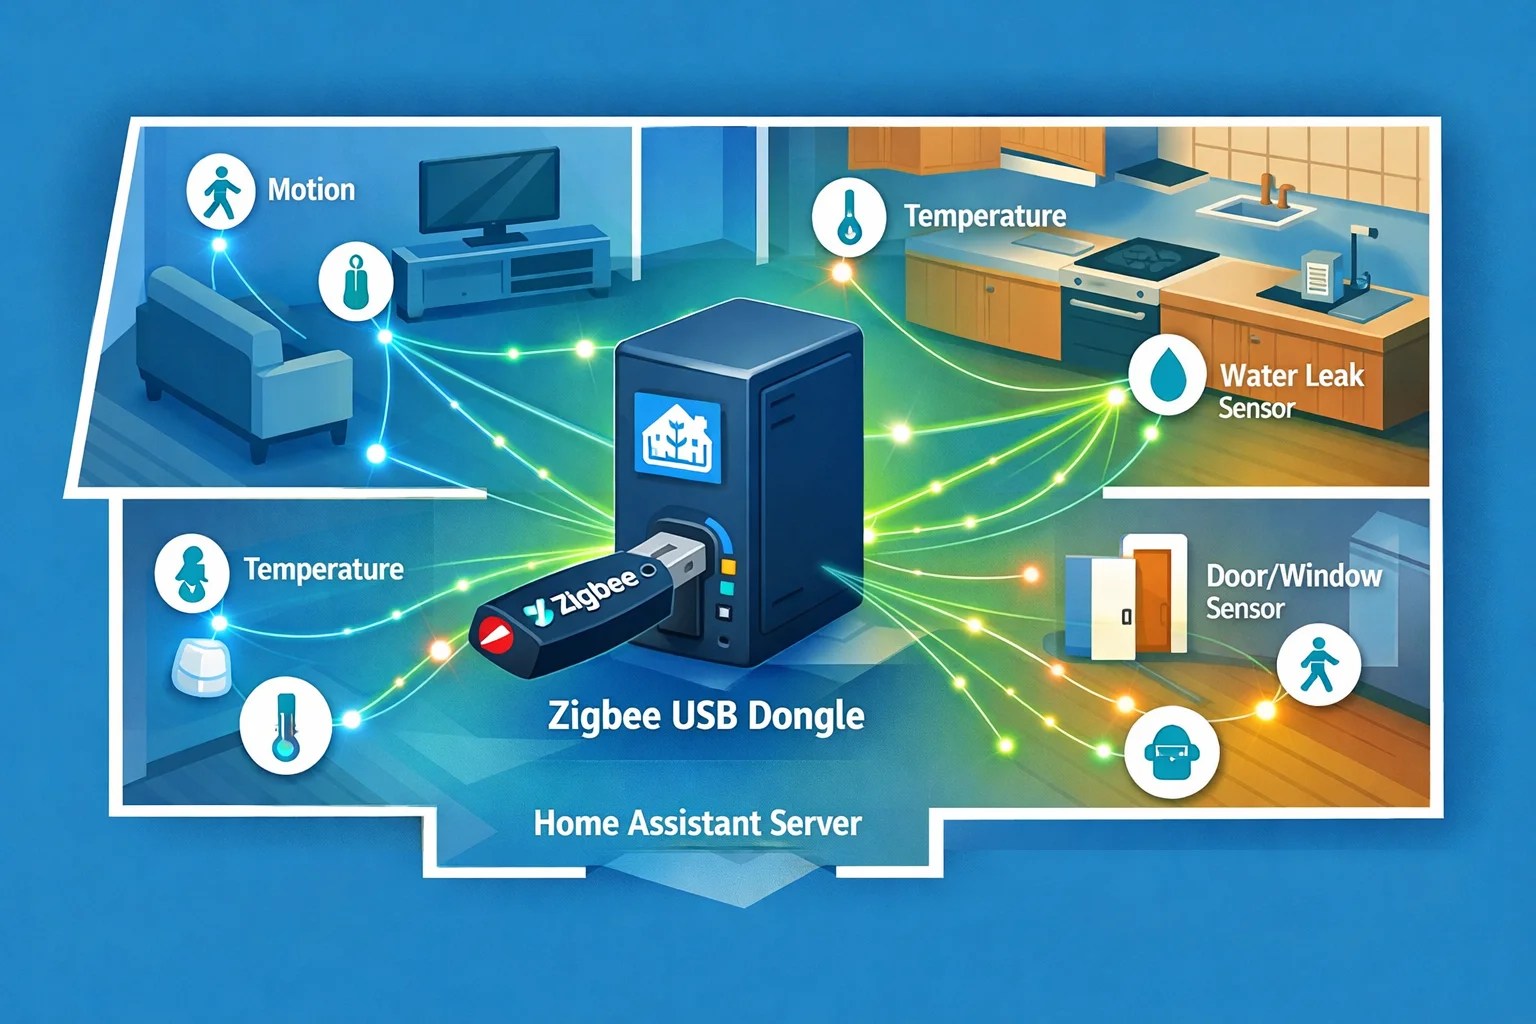
What If You Want Zigbee or Z-Wave?
Home Assistant Green doesn't have built-in Zigbee or Z-Wave support. But you can add it with a USB dongle. The SkyConnect (by the HA team, ~$30) or the ZBT-1 give you Zigbee and Thread support. Just plug it in, and HA discovers it.
Once you have Zigbee, you can add cheap IKEA Tradfri bulbs ($10 each), Aqara sensors, and a whole ecosystem of devices.
Z-Wave requires separate hardware. Sonoff has an HA-compatible Z-Wave dongle (~$50) if you want to go that route.
Why Local Control Matters (And It's Not What You Think)
Cloud-based systems make money by collecting your data. Amazon knows everything you control, when you control it, how often you use something. They use that for advertising and device development. Google does the same thing.
Home Assistant keeps everything local. Your automations run on your hardware. Nobody knows when you turn on your lights except you. No subscription fees. No "sorry, our server is down" messages. Your automations keep working even if the internet goes out.
That's not paranoia. That's privacy. And it's faster too—no round-trip to the cloud. Commands execute instantly.
Green vs. Other Options
Raspberry Pi with Home Assistant: Cheaper upfront ($35 for the Pi) but more work. You're configuring SD cards, dealing with Linux, and if something goes wrong, you're debugging it yourself. Green Just Works.
Mini PC or old laptop running HA: More powerful, overkill for most setups. And they use a lot more power running 24/7. Green uses like 5 watts. That matters when it's running all the time.
Pre-built hubs from Hubitat, SmartThings, etc.: Also good. Hubitat's actually fantastic if you want local Z-Wave or Zigbee control. But they're more expensive ($130+) and less extensible.
Green is the sweet spot for someone starting out who wants things to just work.
Real Talk: What You'll Spend
- Home Assistant Green: $99
- Optional Zigbee dongle: $30
- First few smart devices: depends, but you probably already have some
Total entry cost is under $150. You're in.
The Wrap-Up
Home Assistant Green removes the barrier to entry for local smart home automation. No Linux knowledge needed. No tinkering with Raspberry Pis. You unbox it, plug it in, and start building automations that actually respect your privacy.
The learning curve is real—HA is powerful, and power comes with complexity. But the basics (adding devices, creating automations) are approachable for anyone. And once you've got the fundamentals down, you can go deep.
Order Home Assistant Green from Amazon, give yourself an evening to set it up, and you'll suddenly have a home automation system that works the way it should: controlled by you, running on your network, no subscriptions, no corporate data collection.
It's genuinely the best entry point into serious home automation in 2025.