I've been automating my home for five years now, and I can tell you that Home Assistant's built-in automations work great—until they don't. Simple stuff? Trigger an event, do an action. Done. But the moment you need to say "if the garage door opens after 10pm AND nobody's home AND the temperature is below 60 degrees UNLESS the security system is in guest mode," you're wrestling with YAML configs that make you want to scream.
That's where Node-RED comes in. It's a visual flow-based programming tool that lets you build those gnarly conditional automations by dragging and connecting nodes. No coding required. I started using it last year and immediately wondered why I'd waited so long.
What Node-RED Actually Does
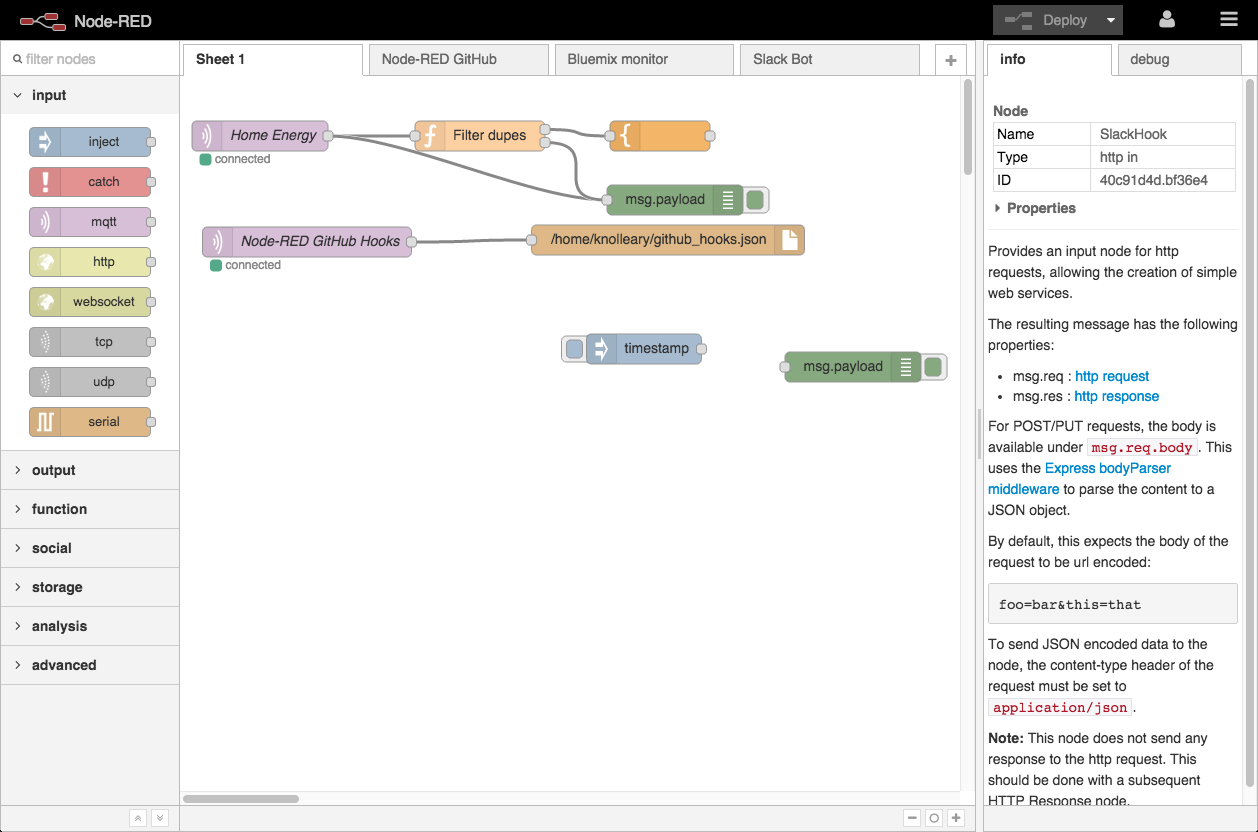
Node-RED turns your complex logic into a visual diagram. Instead of writing nested conditionals, you drag a motion sensor node, pipe it into a time-check node, throw in a condition node, and connect the outputs to your light control nodes. You can see the data flowing through your automation in real time, which makes debugging absurdly easier than staring at YAML files wondering which indentation level you messed up.
The key advantage over Home Assistant's native automations: flexibility. Home Assistant handles simple triggers and actions beautifully. Node-RED handles weird edge cases, persistent variables, API calls to external services, and complex decision trees without you pulling your hair out.
Installation: It's a Two-Click Job
First, grab the Node-RED add-on from Home Assistant's Add-on Store. Settings > Devices and Services > Add-ons > Add-on Store > search "Node-RED" > Install. I'm not exaggerating when I say it takes one click. The add-on handles all the heavy lifting.
Once Node-RED is running, you need the Home Assistant nodes palette so Node-RED can actually talk to your automations. Open the Node-RED editor (check your HA add-ons for the URL—usually something like your-ip:1880), go to the hamburger menu > Manage palette > Install tab > search "home-assistant-websocket" > Install the node-red-contrib-home-assistant-websocket package.
That's the setup. Seriously.
Your First Flow: Motion-Triggered Light
Here's where it gets practical. Let's build something basic: motion sensor triggers a light, but only if it's dark outside, and the light turns off five minutes after the motion stops.
Grab these nodes (drag them onto the canvas):
- Trigger node (motion sensor)
- Light control node (your lamp)
- Condition node (check if it's dark)
- Delay node (five minutes)
Wire them together: motion sensor → condition check → light on. Separately, motion sensor → delay → light off. Throw a debug node (hamburger menu > debug nodes > debug) on the outputs so you can watch the data flow through your automation in the debug panel on the right.
Deploy (top-right button), walk past your motion sensor, and watch the magic. The debug panel shows exactly what's happening at each step.
Going Advanced: Complex Conditional Logic
Here's where Node-RED earns its place on my home automation toolbox. Let me give you a real automation I'm running:
"If the garage door opens after 10pm and nobody's home, send a critical notification to my phone AND turn on the porch light at full brightness AND start recording the front camera for five minutes."
In Home Assistant's native automations, that's messy. In Node-RED:
- Garage door sensor → open/close switch node
- Time filter node (only allow 10pm-6am)
- Presence check node (anybody home? Yes/no)
- If all conditions true: fan out to three parallel nodes (notification, light control, camera recording)
- The camera recording node uses a function node to call a service with parameters

This is the kind of automation that feels clunky in YAML but reads like a flowchart in Node-RED. You're not fighting syntax—you're building logic visually.
Key Features That Make Node-RED Worth It
Persistent Variables: Context stores let you save values between triggers. Need to count how many times your doorbell rang in the last hour? Store that in a context variable, increment it on each ring, and reset it hourly with a timer node. Try doing that elegantly in Home Assistant's YAML.
Real-Time Debugging: The debug panel shows exactly what data is moving through each node. See a value you don't expect? You'll catch it immediately instead of wondering why your automation's not triggering.
Service Calls to Non-HA Systems: Node-RED isn't locked into Home Assistant. You can make HTTP calls to any API, send emails, post to webhooks, call Telegram bots, whatever. Pair that with Home Assistant's entities, and you've got a bridge between your HA setup and everything else.
Visual vs. YAML: Honestly, once you're comfortable dragging nodes around, you'll find automations that took you 20 minutes to debug in YAML become obvious visual problems in Node-RED.
Importing Community Flows
You don't need to build everything from scratch. The Node-RED community has shared thousands of pre-built flows at flows.nodered.org. Search "home assistant" and you'll find flows for everything: sunrise simulators, smart thermostat managers, presence detection logic, and more. Copy the JSON, paste it into Node-RED's import dialog (hamburger menu > Import), and you've got a starting point to modify.
One Important Caveat
Node-RED adds complexity. For simple automations—"turn on the light when motion is detected"—stick with Home Assistant's UI. Node-RED shines when you've got conditional logic that makes you cringe. Don't use a visual programming tool when a trigger and action suffice. But when you need it, you'll know.
Next Steps
Start with that motion sensor + light automation I described. Deploy it, watch the debug panel, and get comfortable with how data flows through nodes. Then think about one automation in your Home Assistant setup that feels clunky. Rebuild it in Node-RED and see how much clearer it becomes.
If you're running Home Assistant and you've ever written a complicated automation, Node-RED is worth the 30 minutes to set up. The time you save debugging later will pay dividends.
Check out Node-RED Home Assistant add-on here
That's the foundation. Node-RED transforms your Home Assistant automations from a pile of YAML headaches into a visual system you can actually debug. Give it a shot—your future self will thank you when your 3am motion automation works exactly the way you intended.