The Raspberry Pi 5 is a significant upgrade for Home Assistant. I ran HA on a Pi 4 for two years and recently migrated to a Pi 5, and the difference is immediately noticeable. Full HA backups that took 2 minutes 20 seconds on the Pi 4 complete in 31 seconds on the Pi 5 with NVMe storage. Initial boot is faster. The whole system feels more responsive under load.
But before you order one, let's talk about whether you need it — and if so, exactly what hardware to get.
Pi 5 vs Home Assistant Green: Which Should You Buy?
Nabu Casa (the company behind Home Assistant) sells the Home Assistant Green at $99. It's a dedicated HA device built on a slightly underclocked Rockchip RK3566, with 4GB RAM and 32GB eMMC storage. It's plug-and-play — literally just connect power and ethernet and navigate to the URL.
The Pi 5 at ~$80 for the 4GB model ($120 for 8GB) costs about the same but requires more setup. However, the Pi 5 wins if:
- You want NVMe SSD storage (much faster and more reliable than eMMC)
- You want to run other services alongside HA (Plex, Pi-hole, etc.)
- You want USB radio dongles (Zigbee, Z-Wave) and need reliable USB performance
- You want to upgrade to the 8GB RAM model for future-proofing
The Home Assistant Green wins if:
- You want zero setup friction
- You're buying for a family member or non-technical user
- You don't need NVMe or maximum performance
This guide covers the Pi 5 path.
What You Need
Required:
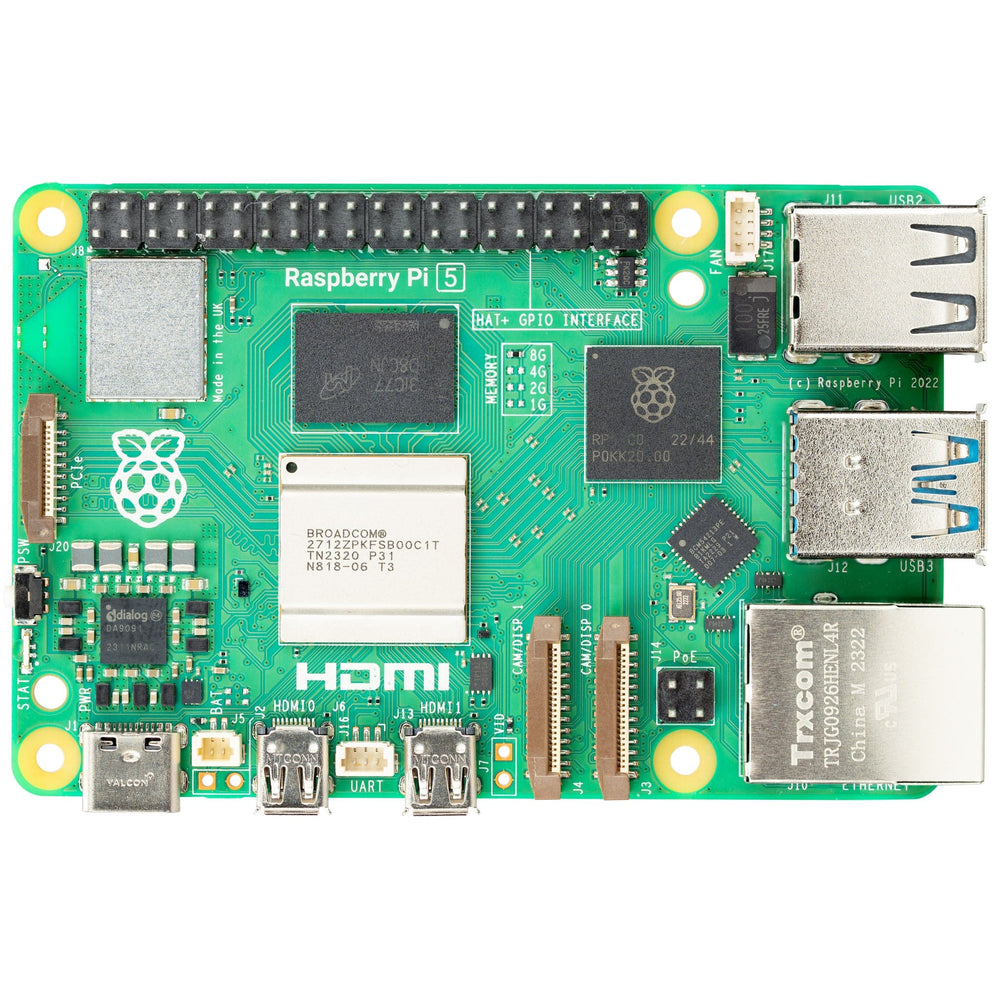
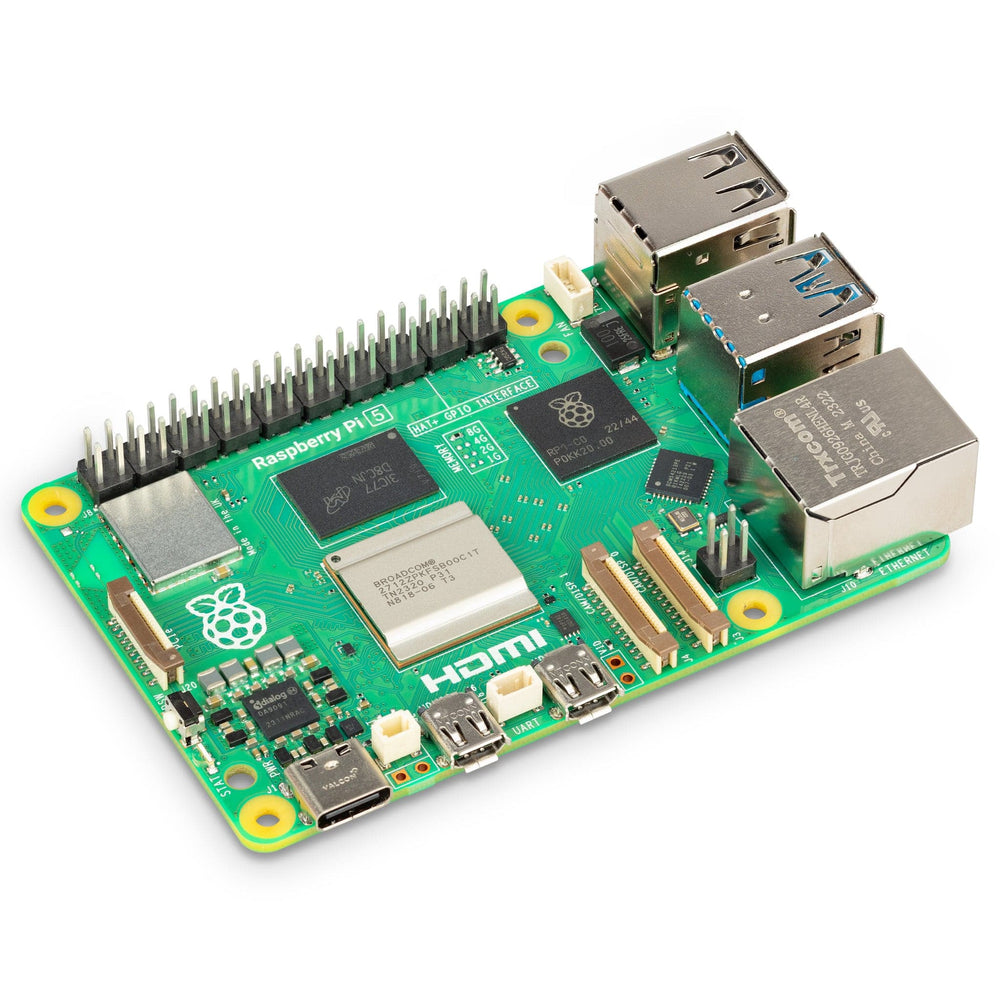
- Raspberry Pi 5 (4GB or 8GB) — 4GB is sufficient for most HA installs; 8GB if you're running many integrations or add-ons
- Official Raspberry Pi 27W USB-C Power Supply — don't cheap out here; the Pi 5 requires 5A at 5V and an undersized PSU causes random crashes and data corruption
- MicroSD card (for initial setup) — at least 16GB, A2-rated
Strongly Recommended:
- NVMe SSD + M.2 HAT: Official Raspberry Pi M.2 HAT+ (~$12) with a 256GB NVMe drive (~$25–$35). Total storage upgrade: under $50. The reliability and speed difference over microSD is enormous.
- Case with active cooling: Pi 5 runs warmer than Pi 4. A case with a fan prevents thermal throttling. The official Raspberry Pi 5 Active Cooler (~$10) works well.
- Ethernet cable: Use ethernet for the initial setup. Wi-Fi can be configured after HA is running.
Why SSD Matters (The SD Card Reality)
MicroSD cards are unreliable for continuous write workloads. Home Assistant writes logs, database records, and state changes constantly. I've had three SD cards fail on me over four years of running HA on various Pi boards. A corrupted SD card means restoring from backup or starting over.
NVMe SSD solves this. The Pi 5's M.2 HAT+ connects directly to the PCIe interface — not USB like on the Pi 4. A budget 256GB NVMe drive is 10–20x faster than a good SD card and will outlast the Pi hardware itself.
If you're going to run HA for more than a few months, use an SSD. The extra $35–50 is completely worth it.
Step 1: Flash the Home Assistant OS Image
Download Raspberry Pi Imager from rpi.imager.org on your computer. This is the official flashing tool.
If you're installing to SD card (for testing or initial boot for NVMe setup):
- Insert SD card into your computer
- Open Raspberry Pi Imager
- Click Choose Device → Select Raspberry Pi 5
- Click Choose OS → Other specific-purpose OS → Home assistants and home automation → Home Assistant → Select Home Assistant OS 14.x (RPi 5 64-bit)
- Click Choose Storage → Select your SD card
- Click Write and confirm the warning (this erases the card)
If you're going directly to NVMe: You'll first need to boot Raspberry Pi OS briefly to configure the bootloader, then write HA OS to the NVMe drive. See the NVMe section below.
Step 2: Configure the Pi 5 Bootloader for NVMe (If Using SSD)
Out of the box, the Pi 5 boots from SD card. To boot from NVMe:
- Flash Raspberry Pi OS Lite (64-bit) to an SD card using Pi Imager
- Boot the Pi 5 from that SD card (just connect ethernet and power)
- Once booted, SSH in or connect a keyboard/monitor
- Run:
sudo raspi-config - Navigate to: Advanced Options → Boot Order → NVMe/USB Boot
- Select it, confirm, and reboot
Now the Pi 5 knows to look at NVMe first. Power down after reboot, remove the SD card, and connect the NVMe drive via the M.2 HAT.
Then boot the Pi 5 from the SD card one more time with Pi OS, write the HA image to NVMe:
sudo apt install rpi-imager
sudo rpi-imager
Use the GUI to select HA OS as the OS and your NVMe drive (/dev/nvme0n1) as the storage.
Step 3: First Boot and Finding HA on Your Network
Connect your Pi 5 to ethernet and power it up. The first boot takes 3–8 minutes as HA downloads and installs the latest version.
Open a browser on any device on the same network and navigate to:
http://homeassistant.local:8123
If that doesn't work (older Windows or strict network), find the Pi's IP address in your router's DHCP client list and use http://[IP-ADDRESS]:8123.
You'll see the Home Assistant onboarding page — "Welcome to Home Assistant." Create your account, name your home, set your location and time zone.
Step 4: Enable SSH for Remote Administration
Go to Settings → Add-ons → Add-on Store and search for Terminal & SSH. Install it. Enable "Show in sidebar" and "Start on boot."
Under the Configuration tab, add your public SSH key if you want to connect from a terminal application. Or just use the in-browser terminal — it's convenient for most tasks.
SSH in from your computer (optional but useful):
ssh root@homeassistant.local -p 22
(Use your configured SSH key or the password you set in the add-on config.)
Step 5: Initial Configuration Checklist
Once HA is running and accessible, here's what to do first:
Enable auto-updates (optional but recommended): Go to Settings → System → Updates and enable automatic installs for minor updates.
Set up backups: Go to Settings → System → Backups. Create a manual backup right now. Then configure automatic weekly backups. Store backups somewhere other than the Pi — an external USB drive, a network share, or Nabu Casa cloud if you subscribe.
Install the HA Companion App: Search "Home Assistant" in the App Store or Google Play. This gives you mobile access and sets up location tracking for presence automations.
Add your first device: Go to Settings → Devices & Services → Add Integration. HA will likely auto-discover devices on your network (Philips Hue bridges, Chromecasts, etc.). Confirm any that are yours.
Pi 5 Performance in Practice
After six months on Pi 5 with NVMe, here are the real numbers:
- Idle CPU usage: ~2% (vs ~6% on Pi 4)
- Memory usage with ~80 integrations: ~1.8GB of 4GB used
- HA backup time: 31 seconds (vs 2m20s on Pi 4 with microSD)
- Dashboard load time: Under 1 second
- Temperature: 45–50°C at idle with active cooler
The Pi 5 runs HA well. It's got headroom for a lot of integrations, add-ons, and automations before you'd hit any limits. For most home automation setups, 4GB RAM is plenty. Go 8GB if you're running Frigate (AI camera detection) or other memory-intensive add-ons.
That's the complete setup. You now have a fast, reliable Home Assistant instance running on hardware that'll serve you for years.